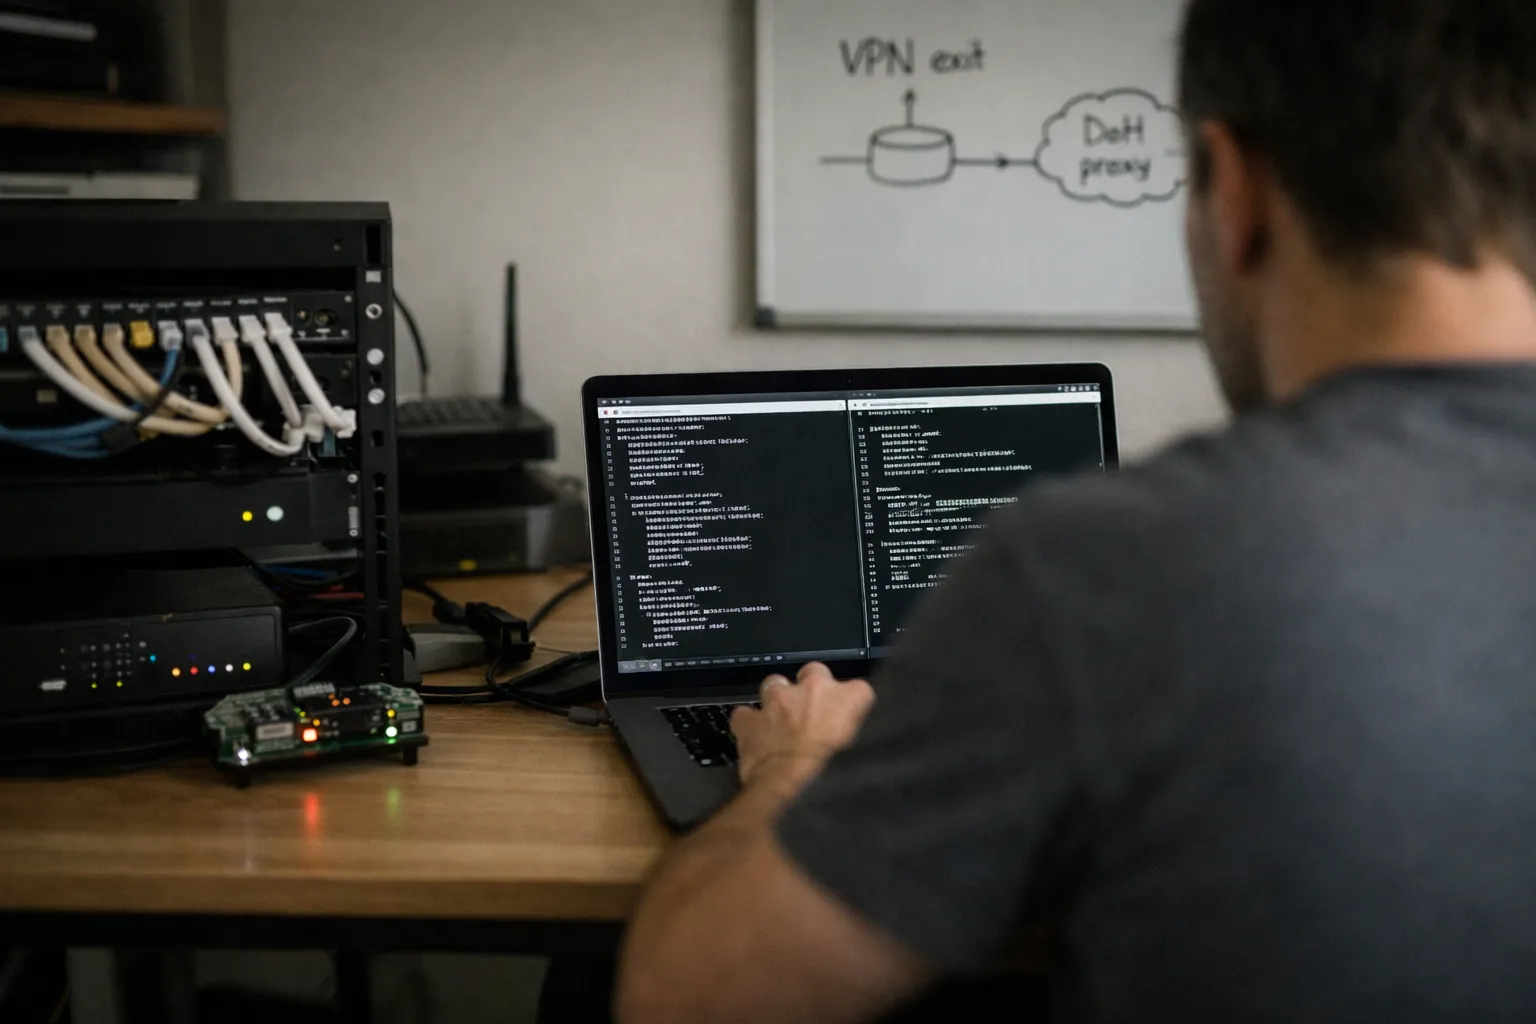
The DNS configuration at a VPN exit is critical to privacy, performance and censorship resistance. Many VPN users point clients to public recursive resolvers and inadvertently leak queries or rely on upstreams that do not validate DNSSEC. This guide walks you through building a privacy-first DNS stack on your VPN exit host (for example a VPS running a WireGuard endpoint). The stack uses Unbound as a local validating resolver, forwards upstream over encrypted channels (DoH/DoT) via a hardened proxy, enforces access controls so only VPN clients can query it, and includes practical steps to tune performance and verify behavior.
Why run a private resolver at the VPN exit?
- Prevent leaks: Clients that use the VPN’s DNS endpoint ensure queries exit through the encrypted tunnel instead of the client’s ISP.
- Privacy choices: You control upstream providers and can enforce encryption (DoH/DoT) and DNSSEC validation.
- Performance: A local cache reduces latency for repeat lookups and reduces upstream query volume.
- Auditability: You can tune logging and retention to meet your privacy promises.
Architecture and components
The recommended architecture for reliability and privacy:
- WireGuard VPN endpoint on a VPS (Ubuntu 24.04 or similar). VPN clients route DNS to the exit host’s private VPN IP (e.g., 10.10.0.1).
- Unbound running as a validating, caching resolver bound to 127.0.0.1 and the VPN interface IP. Unbound performs DNSSEC validation and local caching.
- A DoH/DoT proxy (dnscrypt-proxy or cloudflared) that handles encrypted connections to public upstreams (Cloudflare, Quad9, NextDNS, etc.). Unbound forwards to the local proxy over localhost.
- Firewall rules (nftables/iptables) preventing DNS queries from non-VPN interfaces and blocking outbound plain-text DNS from clients.
Step-by-step setup
1) Prepare the host and WireGuard
- Use a minimal, up-to-date system (Ubuntu 24.04 or Debian 12/13). Keep the kernel and WireGuard packages updated.
- Configure WireGuard so the server has a private address (for example 10.10.0.1/24). Push the DNS IP to clients as the same address.
- Example client DNS: 10.10.0.1 — this makes clients send DNS through the tunnel to the exit host.
2) Install Unbound
- Install Unbound from distro packages or a trusted backport: apt install unbound. Confirm the version supports recommended features (DNSSEC validation and rate limiting).
- Create an Unbound configuration that:
- Enables DNSSEC validation (auto-trust-anchor-file or trust-anchor configuration).
- Disables query logging by default; enable minimal statistics only.
- Restricts access via access-control to the VPN subnet only (and localhost).
- Configures caches: reasonable msg-cache-size and rrset-cache-size for your RAM (e.g., 50–200 MB depending on workload).
- Bind addresses: set unbound to listen on 127.0.0.1 and 10.10.0.1 (the VPN IP). Do NOT bind to 0.0.0.0 unless you intend to serve the world.
3) Deploy an encrypted upstream proxy (DoH/DoT)
You have two common choices:
- dnscrypt-proxy — supports DoH, DoT and DNSCrypt; flexible provider lists and local listener on localhost.
- cloudflared — Cloudflare’s DoH client; lightweight and stable if you choose Cloudflare as upstream.
Install one of these and configure it to listen on localhost on a non-privileged port (for example 127.0.0.1:5053) and to use your desired upstream providers over DoH or DoT. Keep the proxy’s logs minimal and ensure it verifies upstream certificates (it should, by default).
4) Configure Unbound to forward to the local proxy
In Unbound’s forward-zone configuration, point the root (.) forwarder to the proxy on localhost. Example conceptual steps (adjust for your distro):
- forward-zone: name: "." forward-addr: 127.0.0.1@5053
- Enable strict-order and prefer-ip6 on your terms; generally let the proxy decide ordering.
This keeps Unbound as the authoritative validator/cache, while the proxy handles encrypted transport to your chosen public resolvers.
5) Tighten access and DNS leak prevention
- Unbound access-control: only allow queries from 127.0.0.1 and the VPN subnet (e.g., 10.10.0.0/24). Deny all other sources.
- System firewall: block UDP/TCP 53 and 853 on the public interface to prevent clients from bypassing the tunnel or other processes from serving plaintext DNS.
- Enforce outbound proxying: on the server, prevent Unbound from using external interfaces for upstream connections (the proxy already uses localhost).
- If you run additional services, use separate network namespaces or bind those services explicitly to avoid accidental leakage.
Privacy and logging policies
- Disable query logging in Unbound unless you need it for debugging. If you must log for abuse investigation, keep logs short-lived and clearly document retention policies.
- Consider mounting /var/log/unbound as tmpfs if you don’t want persistent logs on disk (this risks losing logs across reboots; weigh policy and compliance needs).
- Limit who can access unbound-control and any control sockets. Use unprivileged users and file permissions.
Performance tuning
- Set rrset-cache-size and msg-cache-size appropriate to available RAM. For small VPSes, 50–128MB is often a good starting point; larger instances can host bigger caches.
- Enable prefetching so Unbound refreshes popular negative/positive answers near expiry (reduces client latency spikes).
- Set num-threads equal to available CPU cores and increase so-reuseport if running heavy loads.
- Use local networking optimizations: reduce latency between Unbound and the proxy by keeping both on localhost.
Testing and verification
- From a VPN client, confirm DNS resolution uses the VPN IP: run dig @10.10.0.1 example.com +short and compare with public results.
- Run a leak test: use services such as dnsleaktest.com and ipleak.net while connected to the VPN; results should show your VPN exit provider or your chosen upstream, not the client ISP.
- Verify DNSSEC validation: dig +dnssec sns.dns.icann.org @10.10.0.1 and check for the AD (authenticated data) flag on successful validation.
- Confirm encrypted upstream usage: on the server, capture traffic on the proxy’s outbound socket (tcpdump -i lo port 443 or 853) and verify queries are encrypted, not plaintext 53.
- Measure performance: use dnsperf or namebench from a client to compare query latency via your resolver versus other public resolvers.
Edge cases and hardening
- Mitigate amplification attacks: configure Unbound to rate-limit responses and limit EDNS buffer sizes. Use Unbound’s ratelimit settings.
- Cache poisoning: rely on DNSSEC validation. If you forward to upstreams that do not validate, Unbound’s validation can still protect clients if Unbound is the validating resolver.
- Split tunneling clients: enforce DNS through the VPN by configuring clients to use the VPN DNS and by firewalling plaintext DNS on clients where you control the endpoints (easier in managed environments).
- Legal/subpoena exposure: if you promise no-log behavior, design storage and retention accordingly — minimal logs, short retention, transparent privacy policy.
Operational checklist
- Monitor Unbound stats (stub: unbound-control stats) or expose metrics via an exporter for Prometheus to track cache hit-rate and query volume.
- Watch for upstream outages: add multiple upstreams to the proxy and configure failover order.
- Automate updates for the proxy and Unbound, and test upgrades in staging before production.
- Document your privacy and retention policies clearly for users; transparency builds trust.
Real-world example: common pitfalls
- Binding Unbound to 0.0.0.0 inadvertently exposes DNS to the world. Always prefer explicit addresses.
- Forgetting to update client DNS when WireGuard server IP changes — automate with configuration management or use stable private addresses.
- Relying exclusively on an upstream that logs queries without disclosure — choose providers whose policies match your privacy guarantees.
Summary
Running Unbound as a validating, caching resolver at your VPN exit with encrypted upstream transport (DoH/DoT via a local proxy) gives you control over privacy and performance. The key points are: bind the resolver to the VPN address and localhost, forward upstream traffic through an encrypted proxy, enable DNSSEC validation, limit logs, and apply strict firewall rules to prevent leakage. With careful configuration you’ll reduce query latency for clients, prevent common leaks, and deliver verifiable DNS behavior aligned with your privacy promises.
Next steps: implement the stack on a test VPS, run the verification steps above, tune cache sizes according to observed load, and publish a short privacy statement for your users describing retention, upstream providers, and logging practices.