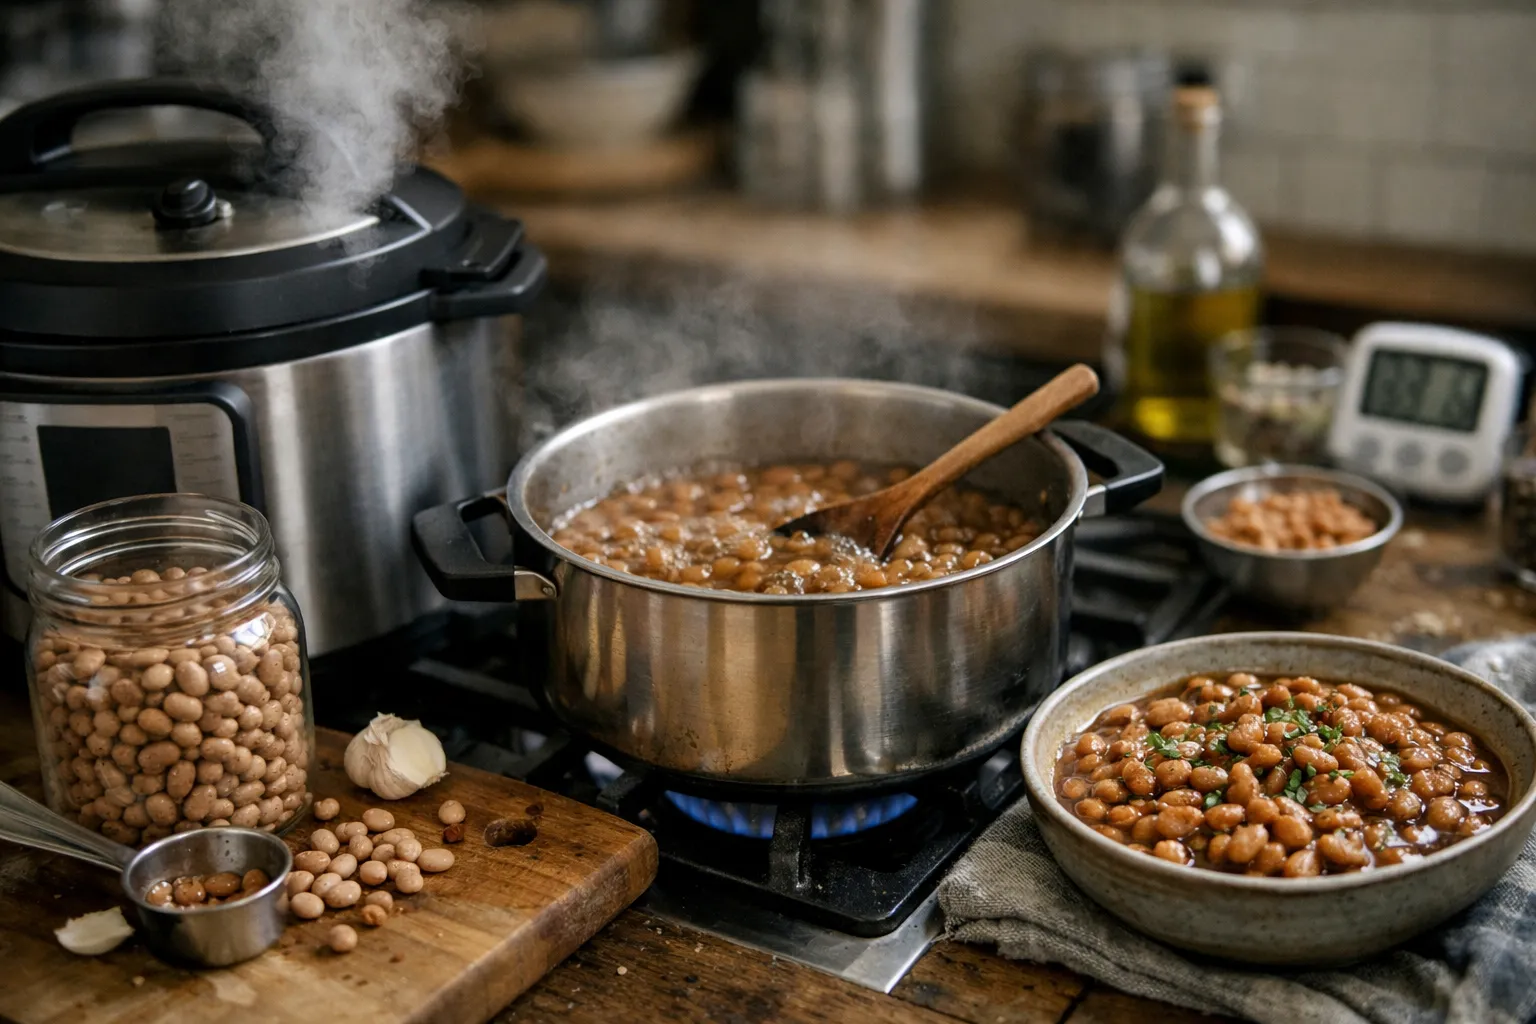
Cooking dried beans from scratch is one of the most economical, nutritious, and versatile skills a home cook can master. With the right ingredients, timing and technique you can turn a bag of dried legumes into tender beans for tacos, salads, soups, and hummus — often in under an hour using a pressure cooker. This guide walks you through reliable methods (Instant Pot/pressure cooker, stovetop, slow-cooker/oven alternatives), practical timing charts, troubleshooting tips, serving size guidance, and dietary modifications so you’re never stuck with chalky or mushy beans again.
Why cook dried beans?
- Cost and flavor: Dried beans cost a fraction of canned beans and develop a fresher, creamier texture.
- Control over salt and ingredients: You decide the cooking method, salt level and added aromatics.
- Nutrition and sustainability: High in fiber and protein; dried beans have a smaller packaging footprint than canned.
Core ingredients and basic ratios
Essential pantry items you’ll want on hand:
- 1 cup dried beans (any variety) — yields about 2½–3 cups cooked
- 3 cups water or stock per 1 cup dried beans (adjust as below)
- Salt (kosher salt or sea salt), aromatics (bay leaf, garlic, onion, herbs)
General ratio: 1 cup dry beans : 3 cups liquid. For very large beans (chickpeas, large white beans) increase to 3½ cups liquid. A typical serving size is ½ cup cooked beans as a side or 1 cup cooked as a main-protein portion.
Prep time — what to expect
- Soaking time (optional): 6–8 hours (overnight) or 1–2 hours for quick soak.
- Active cooking time:
- Pressure cooker (Instant Pot) unsoaked: 20–45 minutes depending on bean
- Pressure cooker soaked: 6–12 minutes active pressure
- Stovetop unsoaked: 45–90 minutes simmering
- Slow cooker soaked: 4–6 hours on high, 6–8 on low
- Total hands-on prep time: 5–15 minutes (plus optional soak).
To soak or not to soak?
Soaking speeds cooking and can reduce gas-producing oligosaccharides for some people, but it’s optional. If you plan ahead, soak overnight (cover with 3 inches of water). For a quick soak: cover with water, bring to a boil for 2 minutes, turn off heat and let sit 1 hour, then drain.
Pressure cooker (Instant Pot) — the fastest dependable method
Why use it? Pressure cooking is energy-efficient and fast, especially helpful in 2026 with continued emphasis on lower-home energy use. It also reliably softens beans with predictable timing. Here’s a step-by-step Instant Pot approach that works for most beans.
Ingredients (for 1 cup dried beans)
- 1 cup dried beans, rinsed and sorted
- 3 cups water or low-sodium stock
- 1 small onion, halved (optional)
- 1 bay leaf or 1 sprig thyme (optional)
- Salt to taste (see note about timing below)
Method (pressure cooker)
- Rinse beans under cold water, remove stones. If soaked, drain and rinse.
- Add beans, liquid and aromatics to the pot. Do not overfill — never above the 2/3 mark.
- Seal the lid and bring to high pressure. Use the time chart below as a starting point.
- When the cooker beeps, allow a natural pressure release for 10–20 minutes (larger beans benefit from longer natural release), then quick-release any remaining pressure.
- Taste and add salt if needed. If beans are still firm, reseal and pressure-cook 2–5 minutes more.
Pressure-cooker timing chart (high pressure, natural release unless noted)
- Black beans — soaked: 6–9 minutes | unsoaked: 25–30 minutes
- Pinto beans — soaked: 6–8 minutes | unsoaked: 25–30 minutes
- Chickpeas (garbanzo) — soaked: 10–15 minutes | unsoaked: 35–40 minutes
- Cannellini / Great Northern — soaked: 6–8 minutes | unsoaked: 30–35 minutes
- Navy / small white — soaked: 5–7 minutes | unsoaked: 20–25 minutes
- Green/brown lentils — no soak needed; 6–10 minutes
- Red/orange lentils — 3–5 minutes (very soft)
- Kidney beans — soak, then bring to a full rolling boil for 10 minutes before pressure cooking; pressure-cook 8–12 minutes (safety note below)
Note: These are tested ranges; actual times vary by bean age, altitude and water hardness.
Stovetop method (traditional but slower)
Stovetop cooking is forgiving and gives you control, but plan for more time.
- Soak beans if you prefer (drain and rinse)
- Place beans in a large pot with 3–4 cups liquid per cup dry and aromatics.
- Bring to a boil, reduce to a low simmer, partially cover, and cook until tender. Stir occasionally and add water if needed.
Approximate stovetop times (unsoaked): small beans 45–60 minutes; large beans and chickpeas 60–90 minutes. Salt after initial simmering (once beans begin to soften) to avoid extending cooking time.
Slow cooker and oven notes
Slow cookers excel for set-and-forget batch cooking but don’t reach high enough temperatures to neutralize toxins in raw kidney beans — always pre-boil kidney beans for 10 minutes if using a slow cooker. Slow-cooker times: soaked beans 4–6 hours on high, 6–8 on low. Oven-braising (covered pot at 300°F/150°C) is another low-attention method: 90–120 minutes depending on bean and soak.
Salt, acid, and other flavouring rules
- Salt timing: Contrary to old advice, adding salt early seasons the beans and doesn’t prevent softening at normal amounts. However, very acidic ingredients (tomato, vinegar, wine, lemon) can slow softening — add them after beans are tender.
- Baking soda: A pinch (1/8 tsp per cup dry) can speed softening in very hard water, but it changes flavor and color.
- Umami: Finish with miso, soy sauce, or a splash of stock for depth.
Troubleshooting common problems
- Beans still hard after cooking: Age of beans, hard water, or too little time. If using a pressure cooker, reseal and add 5–10 minutes; on stovetop, simmer longer and keep lid on.
- Mushy beans: Overcooking or rapid boiling can split skins. Reduce time next batch or use gentler heat.
- Foamy boilover: Add a tablespoon of oil or skim foam early; keep a gap between bean surface and lid.
- Strong “bean” gas: Discard soak water and rinse soaked beans; pressure cooking also reduces oligosaccharides.
Serving size, storage and batch-cooking
Yield: 1 cup dry beans ≈ 2½–3 cups cooked (varies by bean). Typical serving size: ½ cup cooked as a side, 1 cup cooked as a main or salad topping.
- Refrigerator: cooled beans in their cooking liquid keep 3–5 days.
- Freezer: drain or freeze with about ¼–½ cup cooking liquid per cup beans; freeze flat in zip bags up to 3 months. Thaw in the fridge or add directly to soups and chilis.
- Batch-cook: Double or triple recipes. Pressure cookers are energy-efficient for larger batches; refrigerate or freeze portions for quick weeknight meals.
Dietary modifications and swaps
Beans are naturally vegan and gluten-free, but you may need to modify them for specific diets:
- Low sodium: Cook with no salt and use low-sodium stock; add salt to taste at serving.
- Low FODMAP: Canned chickpeas (rinsed) and small servings of canned lentils can be tolerated; pressure-cooked lentils are often gentler than large beans. Long soaking and discarding soak water can reduce oligosaccharides but won’t eliminate them.
- High-protein: Combine beans with whole grains (rice, farro) for complete amino acid profiles.
- Low-lectin approach: Pressure cooking reduces lectins more than slow, low-heat methods; pairing with fermentation or sprouting is another strategy.
- Allergies: Avoid cross-contamination with peanut oils or shared slicing boards if you have legume allergies.
Quick recipe ideas to use cooked beans
- Smoky black bean tacos — warm beans with cumin, smoked paprika, lime, and fresh cilantro.
- Chickpea salad — mashed chickpeas, tahini, lemon, capers and chopped herbs for sandwiches.
- White bean bruschetta — cannellini beans, garlic, rosemary and olive oil on toasted bread.
- One-pot chili — freeze extra cooked beans and add straight to your next pot of chili.
Final checklist: quick cheat-sheet
- Rinse and sort dried beans.
- Decide: soak overnight or quick-soak; optional.
- Use 1 cup dry : 3 cups liquid; slightly more for large beans.
- Pressure-cook unsoaked blacks/pintos ~25–30 min; chickpeas ~35–40 min; lentils 3–10 min.
- Natural pressure release for 10–20 minutes for best texture.
- Add acidic ingredients after beans are tender; salt early or late depending on preference.
With these techniques you can make tender, flavorful beans reliably—whether you’re rushing a weeknight meal with an Instant Pot or taking a relaxed approach on the stovetop. Batch-cook once, and you’ll have versatile, nutritious components ready to transform salads, soups and main courses all week. Have a favorite bean type you want timed specifically? Tell us which bean and your preferred cooking method, and we’ll tailor exact times for you.