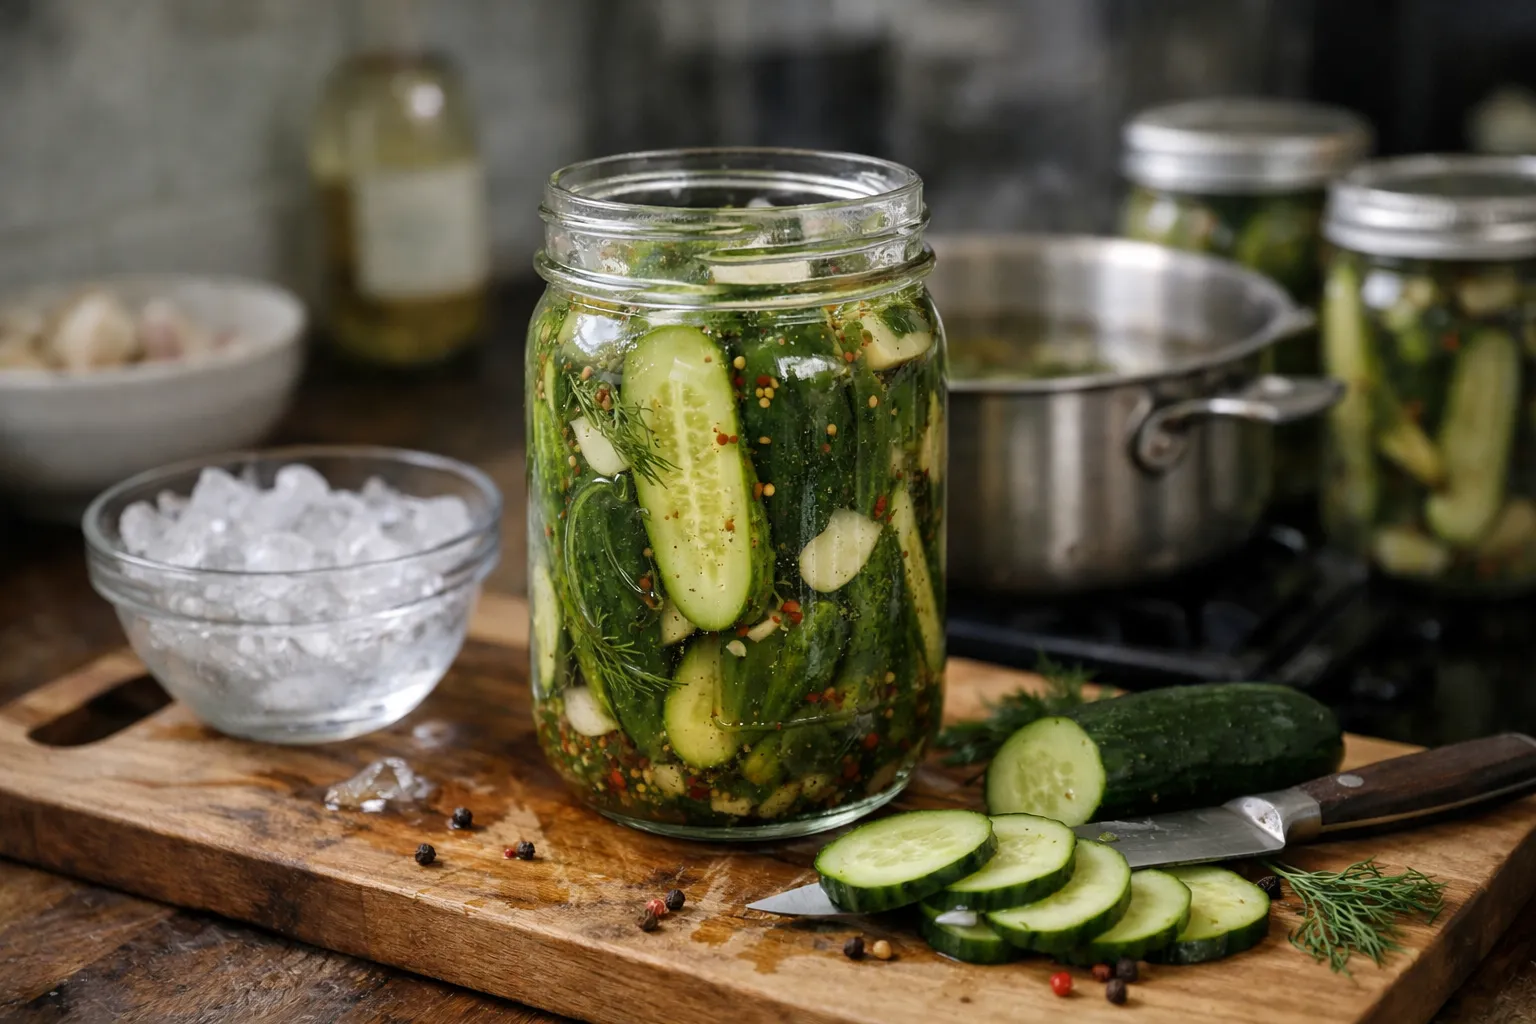
Pickling at home doesn't have to be slow or fussy. This hands-on tutorial walks recipe fans through making crisp, brightly flavored refrigerator pickles you can eat within 24 hours. I'll give exact ingredients, prep time, a simple cooking method, serving size, and clear dietary modifications so you can adapt every batch.
Why this method?
Refrigerator pickles are fast (no water-bath canning), flexible, and great for seasonal produce. In May 2026, when small English cucumbers, spring onions and early radishes are abundant, this technique lets you turn market-fresh ingredients into tangy condiments by tomorrow. These pickles are not shelf-stable; store them in the fridge and eat within 2–4 weeks.
Yield, prep time and equipment
- Serving size: makes about 1 quart (approx. 6 servings as a side or condiment).
- Active prep time: 15–25 minutes.
- Rest time (flavor development): minimum 24 hours; best at 48 hours.
- Equipment: 1-quart jar with lid, small saucepan, measuring cups/spoons, cutting board, sharp knife, optional mandoline, bowl for ice bath.
Ingredients (base recipe — 1 quart)
- Produce: 1 lb cucumbers (Kirby or English), thinly sliced into 1/8–1/4" rounds or spears.
- Brine liquids: 1 cup distilled white vinegar (5% acidity) + 1 cup water.
- Salt & sweetener: 2 tablespoons pickling salt or kosher salt + 2 tablespoons granulated sugar (optional).
- Aromatics & spices: 2 garlic cloves (smashed), 1 teaspoon mustard seeds, 1 teaspoon black peppercorns, 1–2 sprigs fresh dill or 1 teaspoon dried dill, 1 bay leaf.
- Crispness aids (optional): 1 small grape leaf or 1/8 teaspoon calcium chloride (Pickle Crisp) per quart.
Brine ratio and scaling
Use a 1:1 vinegar-to-water ratio with 2 tbsp salt per quart as a reliable, safe refrigerator-pickle brine. For larger batches, multiply all ingredients by the number of quarts. If you prefer a tangier pickle, increase the vinegar to 1.25 cups and reduce water accordingly.
Step-by-step instructions
- Prep produce (5–10 minutes). Wash and trim cucumbers. Slice into rounds or cut into spears so they fit snugly in the jar. If using other veg (radishes, carrots, onions), slice thinly for faster pickling.
- Optional crisping pre-step (2–3 minutes). For extra snap, briefly blanch cucumbers in an ice bath: dip slices in ice water for 30 seconds and drain, or add a grape leaf to the jar—tannins help maintain crunch.
- Make the brine (3–5 minutes). In a small saucepan combine vinegar, water, salt and sugar. Heat just until salt and sugar dissolve—do not boil. Heating draws out volatile aromatics from spices and helps infusion.
- Pack the jar (2–4 minutes). Tightly pack cucumbers into a clean 1-quart jar with garlic, dill, mustard seeds, peppercorns and bay leaf. Add calcium chloride now if using.
- Pour hot brine and seal. Pour the hot brine over the cucumbers, leaving 1/2" headspace. Tap jar gently to release air bubbles. Wipe rim and screw on lid.
- Cool and refrigerate. Let jar cool to room temperature (about 30–45 minutes), then refrigerate. Refrigeration is the cooking method here—cold diffusion develops flavor safely.
- Wait and taste. Taste after 24 hours; flavors intensify at 48 hours. Keep refrigerated; consume within 2–4 weeks for best texture and flavor.
Quick variations
- Dill & garlic: Use extra fresh dill and a couple more garlic cloves—classic.
- Spicy Korean-style: Add 1 tablespoon gochugaru or thinly sliced chilies and 1 teaspoon ginger.
- Bread-and-butter style: Increase sugar to 1/3 cup and add 1/4 cup apple cider vinegar for a sweeter-tangy finish.
- Pickled red onions: Use thinly sliced red onion instead of cucumbers. Same brine, 6–12 hours to become crisp-tender.
Dietary modifications
- Low-sodium: Reduce salt to 1 tablespoon per quart and drain and rinse lightly before serving if needed. Note: lower salt reduces shelf life; keep refrigerated and use sooner (within 2 weeks).
- No-sugar or keto: Omit the sugar or replace with 2 tablespoons erythritol or monk fruit sweetener. Adjust to taste.
- Vegan & gluten-free: The base recipe is naturally vegan. For gluten-free, confirm the vinegar is distilled and certified gluten-free if you have celiac disease.
- Allergen notes: Mustard seeds are seeds, not nuts; swap for coriander for a different flavor if needed.
Tips for crisp pickles
- Use young, firm cucumbers for best texture.
- A grape or oak leaf in the jar helps keep crunch via tannins; calcium chloride (Pickle Crisp) produces reliable results and is tasteless.
- Do not boil the brine—heat only enough to dissolve salt and sugar; boiling can soften vegetables too much.
- Pack tightly to minimize floating pieces; a snug jar reduces oxidation and preserves texture.
Food safety and storage
Refrigerator pickles are safe when prepared cleanly and kept cold. They are not heat-processed, so do not store at room temperature or expect shelf stability. Refrigerate promptly and consume within 2–4 weeks. If you want shelf-stable pickles, use a tested water-bath canning recipe from a trusted source (USDA or university extension).
Serving ideas
- Serve as a crunchy side with fried chicken or BBQ (1–2 slices per sandwich).
- Add to salads, grain bowls, or tacos for bright acid.
- Use pickled spears as a cocktail garnish or on a charcuterie board.
With a little planning—15 minutes of prep and a 24-hour rest—you can transform market-fresh produce into lively refrigerator pickles. Try the base recipe once, then experiment with spice blends, vinegars and vegetables. Happy pickling!