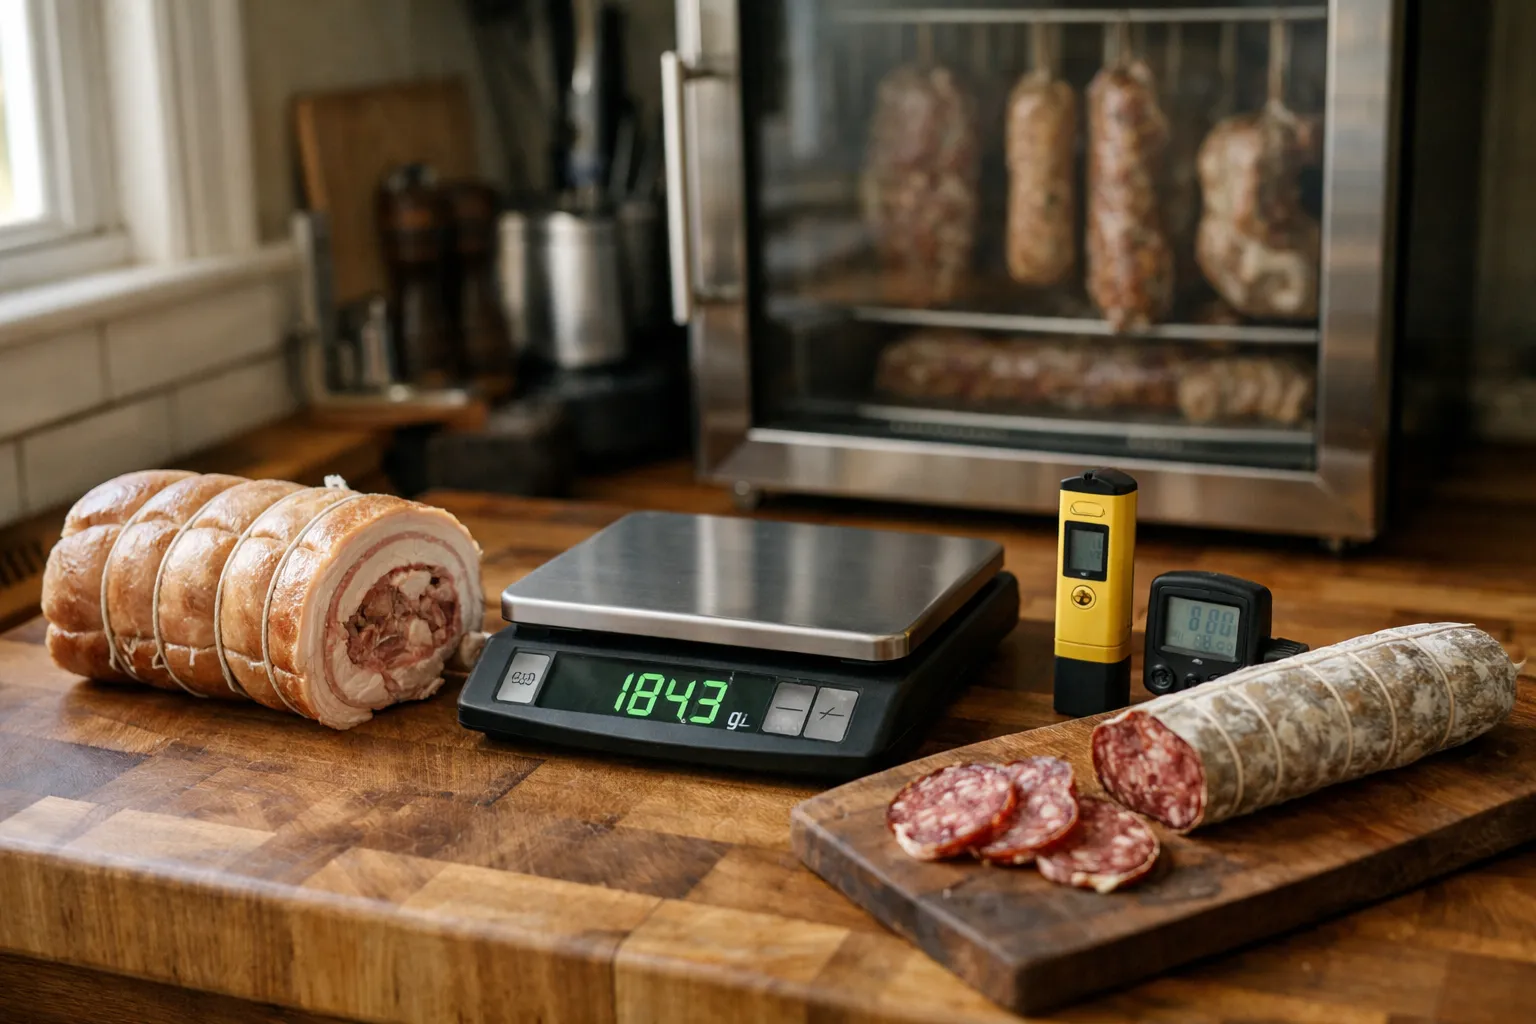
Dry‑curing meat at home remains a craft of precision and patience. This updated June 2026 guide keeps the same entry point—fermented salami and rolled pancetta—but adds fresh context: new consumer equipment, updated best practices that reflect recent product availability and community experience, and practical checks to keep your projects safe and repeatable. This is written for food enthusiasts who want clear, actionable instructions and modern options for building a reliable home curing setup.
Prerequisites and context: what you should know before you start
Before you begin: you need accurate weighing, a way to measure pH, and some capacity to control temperature and humidity. The critical control points for both salami and pancetta are salt level, cure/nitrite handling, fermentation (for salami), and drying conditions. These are unchanged; what has shifted in 2026 are the tools: more affordable, consumer‑grade controllers and better portable pH meters, plus a wider market for starter cultures and protective molds suitable for hobbyists.
Why start with salami and pancetta?
- Salami is a fermented product; fermentation lowers pH and is the primary microbiological safety barrier for many recipes. It’s an excellent place to learn pH control and mold management.
- Pancetta is a dry‑cured, non‑fermented whole‑muscle product. It’s simpler in terms of microbiology but demands attention to salt penetration and even drying to avoid case hardening.
Essential principles — safety first
- Weigh everything. Percentages (w/w) are essential. Use a scale with at least 0.1 g accuracy for small ingredients like curing salts and starter culture doses.
- Salt and water activity. Aim for ~2.0–2.5% NaCl of meat weight for typical salami and pancetta. Salt both flavors and reduces water activity.
- Curing salt (sodium nitrite). Use Prague/Instacure #1 when your recipe requires nitrite. Many home‑recipes use ~0.25% of total meat weight (verify with your supplier and the curing salt packaging). Never eyeball this ingredient.
- Fermentation target. For fermented salami, use a starter culture and ferment until pH reaches ≤5.3; many home producers target ~4.9–5.2 for both safety and flavor balance. A calibrated pocket pH meter is the single most valuable safety tool for fermented sausages.
- Temperature and humidity. Ferment at roughly 20–26°C (68–79°F) and 85–95% RH; dry at cooler temperatures—12–15°C (54–59°F)—and 70–80% RH to avoid case hardening.
- Use tested recipes and follow manufacturer doses. Commercial starter cultures and mold inoculants list dosing on the package—follow them. Don’t improvise doses.
Equipment checklist (2026 practical upgrade options)
- Precision digital scale (0.1 g resolution)
- Meat grinder and sausage stuffer, or use a trusted butcher for grinding
- Calibratable pocket pH meter (look for models with fast stabilizing electrodes and replaceable probes)
- Combined thermometer/hygrometer — consider a Wi‑Fi/Bluetooth‑enabled model for logging
- Temperature/humidity controller (many consumer models in 2026 include RH control or integrate with humidifiers)
- Converted wine fridge or small chest freezer for a curing chamber; modern plug‑and‑play kits make conversion simpler
- Ultrasonic humidifier or small evaporative humidifier and a low‑power heater or cooling element depending on your climate
- Commercial starter cultures (Pediococcus/Lactobacillus blends) and Penicillium nalgiovense for protective mold if desired
- Curing salts (Prague/Instacure #1), kosher salt, fermentable sugar (dextrose), spices
- Natural/edible collagen casings for salami; butcher’s twine and netting for pancetta
- Disposable gloves, vacuum sealer (optional), and butcher’s paper
Recipe templates (example batch sizes and percentages)
Below are two reliable templates sized for hobbyists. Weigh and scale ingredients if you change batch size. These templates remain current for 2026.
Fermented Salami (1 kg / 2.2 lb total meat)
- Meat: 700 g pork shoulder (trimmed of excess sinew)
- Fat: 300 g pork back fat (approx. 30% fat)
- Salt (NaCl): 22–25 g (~2.2–2.5% of total meat weight)
- Curing salt (Prague #1): 2.5 g (~0.25%) — confirm with your supplier
- Dextrose (fermentable): 5–8 g (0.5–0.8%)
- Starter culture: follow manufacturer dosing (typically tiny fractions of a gram)
- Seasonings (black pepper, garlic, wine): 5–15 g depending on flavor
- Casings: natural hog or collagen
Method summary:
- Chill meat and fat to firm (but not frozen). Grind—start coarse then finish on a finer plate for desired texture.
- Mix meat, salt, cure, sugar and starter evenly; add spices. Keep mix cold.
- Stuff into casings, remove air, twist into links if desired.
- Ferment at 22–25°C and 85–95% RH until pH ≤5.3 (many cultures reach target in 12–72 hours). Measure pH in the center of a sample link.
- Transfer to drying chamber at 12–15°C and 70–80% RH. Dry until 30–40% weight loss (typically 3–8 weeks depending on diameter and RH control).
Pancetta (rolled) (1 kg belly)
- Pork belly: 1,000 g
- Salt: 20–25 g (2.0–2.5%)
- Curing salt (Prague #1): 2.5 g (~0.25%) — recommended
- Seasonings (black pepper, juniper, bay, sugar): 5–15 g total
Method summary:
- Debone and trim belly. Rub salt, curing salt and aromatics into meat. Place in vacuum bag or non‑reactive container and refrigerate 7–10 days, turning daily to ensure even cure penetration.
- Rinse, pat dry, roll tightly and tie or use netting.
- Hang at 12–15°C and 70–75% RH until ~30% weight loss (3–8 weeks). Slice thin for best texture; pancetta is often used sparingly in cooking.
Building a small curing chamber in 2026 — practical choices
Converting an appliance remains the most reliable route. In 2026 you'll find more modular, consumer‑grade controllers that pair with humidifiers and log conditions via phone apps. The practical pattern:
- Start with a single‑zone wine fridge for small projects. Pair with a temperature controller and a small humidifier. Many newer models include built‑in Wi‑Fi for remote monitoring.
- If you use a chest freezer, use an external temp controller and a low‑wattage heater to keep temps in the mid range; add a humidifier and fan for airflow.
- Use gentle, constant airflow—small clip fans are ideal. Avoid direct blasts on meats.
- Log temperature, RH and pH for the first several batches. Modern Bluetooth hygrometers can automate logging and reduce guesswork.
Testing and verification — accept/reject checks
- pH: For fermented salami, verify pH ≤5.3. If fermentation stalls above 5.3 for extended time, do not eat the product.
- Weight loss: Target ~30–40% weight loss for both salami and pancetta for pronounced texture and improved shelf stability.
- Mold: White, powdery Penicillium nalgiovense is beneficial. Use commercial inoculants or expect it from ambient sources. Discard any meat with green, black, or odorous fuzzy growths.
- Smell: A clean, tangy fermentation aroma for salami or concentrated pork aroma for pancetta is normal; putrid or rotten odors are a red flag—discard.
Common mistakes and how to avoid them
- Too warm when drying: Raises microbial risk and can stall drying. Keep to recommended drying temps.
- Ignoring pH: Don’t skip pH readings for fermented salami—color and smell alone are not reliable safety checks.
- Underestimating humidity control: Too low RH creates case hardening; too high RH invites spoilage molds. Log RH and adjust gradually.
- Wrong curing salt dosing: Mis‑measuring Prague #1 is dangerous. Always measure by weight and label containers.
Pro tips (advanced, based on hobbyist experience through 2026)
- Use small test batches. Make 0.5–1 kg experimental batches when you test new cultures, spice blends or chamber adjustments.
- Calibrate and maintain your pH meter monthly and replace electrodes as needed—accurate readings are non‑negotiable.
- Protective mold application. If you want a reliable white bloom, use a commercial Penicillium nalgiovense spray or powder and follow the manufacturer dosing—this reduces the variability of ambient inoculation.
- Record everything. Keep a curing log with weights, temps, RH, pH and dates. Over time the log becomes your best tool for repeatability.
- Adjust for environment. In warmer, more humid climates (and in warmer houses since 2020s heat trends), use slightly cooler fermentation temps and stronger ventilation during drying to maintain recommended RH and prevent spoilage.
Legal and local considerations (June 2026)
Home curing for personal consumption continues to be permitted in most jurisdictions, but rules on selling cured meats vary. In recent years (through 2024–2026) local health departments have increasingly published clearer guidance about when a hobby cured product becomes a commercial “value‑added” food requiring inspection, licensing or a commercial kitchen. If you intend to sell or wholesale cured meats, contact your county or municipal health department early—requirements vary and noncompliance risks fines and product seizure.
Testing and verification — real‑world example
Example: a 30 mm diameter salami link fermented at 24°C with a modern fast‑acting starter culture reached pH 5.0 in ~24 hours and hit 35% weight loss in 3.5 weeks at 72% RH and 13°C. A 45 mm link at the same conditions needed closer to 5–6 weeks to reach similar weight loss. The lesson: diameter dramatically changes drying time—track weight loss, not calendar days.
Troubleshooting common problems
- Sticky/tacky casings: Likely too high RH or low airflow. Slightly reduce RH or increase gentle airflow.
- Case hardening: Raise RH for the first 48–72 hours of drying, then lower gradually. Smaller diameters are less susceptible.
- Slow pH drop: Check culture viability (keep cultures refrigerated/dry), fermentation temperature and available sugar. If pH stalls, don’t continue to dry—dispose safely.
- Unexpected discoloration: Green/black molds or sliminess = discard. White surface molds can be brushed or allowed, depending on product and aesthetics.
Suggested next steps and learning resources
Once you have repeatable salami and pancetta, explore regional styles—finocchiona, soppressata, guanciale—or try longer cures like coppa or whole‑muscle prosciutto (the latter requires more space and time). Resources: established charcuterie books, manufacturer technical sheets for starter cultures, and local butcher classes. Online communities (forums and small charcuterie groups) remain useful for troubleshooting, but verify any recipe changes against a measured, tested approach.
Final note
Home charcuterie in 2026 benefits from better consumer tools—more stable controllers, improved pH meters, and accessible starter cultures—that make safe, repeatable salami and pancetta more attainable. The fundamentals remain measurement and control: weigh salts precisely, verify fermentation with pH, control RH and temperature during drying, and log results. Start small, use tested formulas, learn to identify molds, and respect curing salts. The payoff is consistently excellent cured meats you made yourself.
Common questions
Do I need nitrite (Prague/Instacure #1) for salami and pancetta?
Not always. Some long‑fermented, air‑dried traditional salamis use no added nitrite, relying on low pH and salt for safety; however, many home recipes and commercial short‑cure products use Prague #1 to reduce the risk of Clostridium botulinum in early stages and to preserve color and flavor. For pancetta, nitrite is commonly recommended. If you choose recipes without nitrite, follow tested long‑fermentation and high‑salt protocols and be conservative with safety checks (pH, RH, weight loss).
How often should I calibrate my pH meter?
Calibrate before each major fermentation run, and at least monthly if you use it frequently. Use fresh pH buffer solutions (pH 4.01 and 7.00) and follow the manufacturer calibration procedure. Replace electrodes when readings become unstable or response time slows significantly.
What’s the best way to encourage a white mold bloom?
Use a commercial Penicillium nalgiovense starter and follow manufacturer dosing. You can also lightly mist the product with a dilute salt solution before hanging to give the mold a hospitable surface. Inconsistent ambient inoculation is common, so a commercial inoculant is the most reliable approach.
Can I dry cure year‑round at home?
Yes, with the right chamber. Year‑round curing typically requires a converted fridge/freezer or purpose‑built chamber with controlled temp and RH. In 2026, consumer controllers that integrate with humidifiers and logging tools make year‑round curing far more practical than relying on basement seasonality.
How do I know when pancetta or salami is finished?
Rely on weight loss targets rather than calendar days: ~30–40% weight loss for typical salami/pancetta yields safe texture and concentrated flavor. Use pH for fermented salami as an additional safety check. Slice a small test piece; it should be evenly colored, dry but not chalky in the center, and free of off odors.