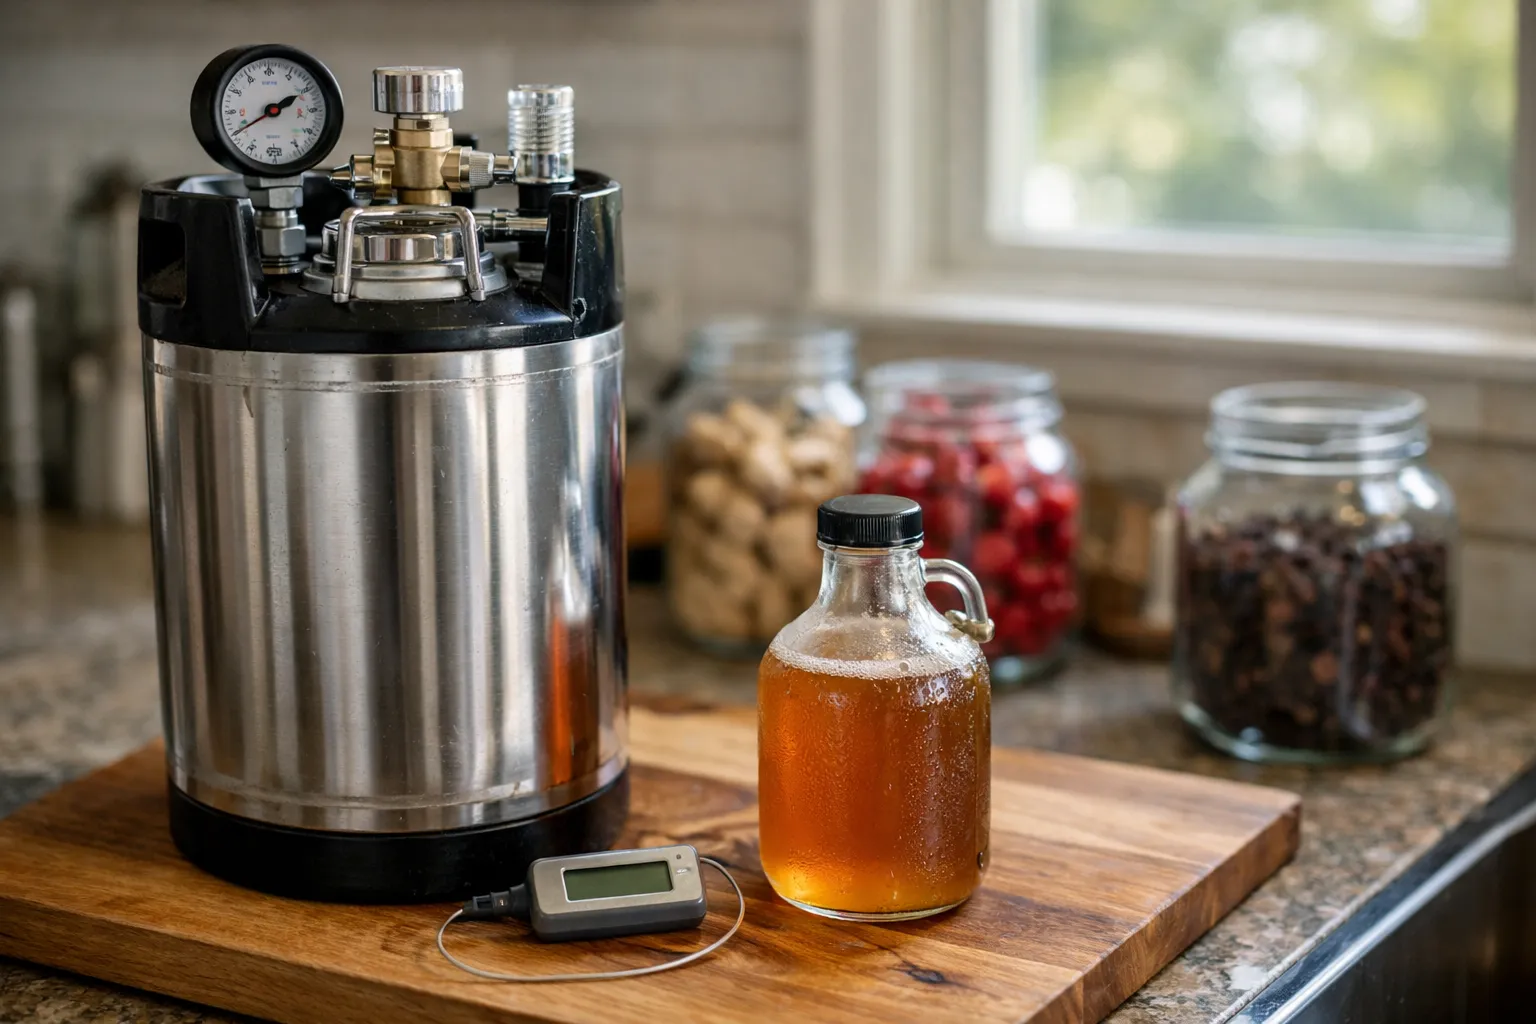
Introduction — What you'll learn and who this is for
This updated August 2026 guide walks home fermenters and food-enthusiast hobbyists through kegging kombucha with modern best practices. You’ll get actionable steps for SCOBY care, hygienic transfer, spunding (natural keg carbonation), force-carbonation with CO2, pressure/temperature targets, serving, and troubleshooting — plus 2026-era trends, equipment options and legal/food-safety checkpoints that matter if you’re keeping kombucha on draft at home or planning small-scale sales.
Prerequisites & context: what to know before you keg
Before you move kombucha to a keg, confirm these basics:
- You have a finished primary fermentation: taste-tested, pH measured, and acidity where you want it. Aim for pH in the ~3.0–3.3 range for a conservative food-safety margin; kombuchas commonly range lower, but this is a safe target for home kegging.
- You understand residual sugar: fruit additions or purées can restart vigorous fermentation in a sealed keg. Decide whether you’ll spund (capture natural CO2) or cold-crash and force-carbonate.
- Equipment familiarity: you can clean and sanitize a keg, operate a CO2 regulator, and read/adjust pressure safely. Kegs are pressure vessels — always check manufacturer ratings and service valves slowly.
- Regulatory baseline: in the U.S. an alcohol by volume (ABV) above 0.5% triggers alcohol beverage rules. If selling kombucha, get ABV testing from a certified lab and check local health department rules.
Key 2026 updates and trends
- Smart spunding and IoT: By 2025–2026 Bluetooth-enabled spunding valves and digital keg monitors became common at hobby prices ($40–$120). They simplify pressure logging and remote alerts for overpressure risk.
- Better home filtration and transfer gear: cartridge and inline filters sized for 5-gallon transfers help keep fruit particulates out of your lines, reducing gushers and brightening clarity.
- Equipment availability and pricing: refurbished 5-gallon ball-lock (Cornelius) kegs still retail widely (~$60–$200 used in 2026), and basic CO2 dispensing kits run ~$180–$400. Mini-kegerators with true-tap heads remain accessible for $300–$900.
- Food-safety focus: more hobbyists are using routine pH logs and third-party ABV checks when flavoring with fruit; labs and mobile testing services have expanded offerings for small producers and serious hobbyists.
Two main kegging approaches (overview)
Both approaches remain valid. Pick one based on desired mouthfeel, speed, and how much active fermentation you’ll allow in the keg.
- Spunding (natural keg carbonation): Transfer after secondary flavoring, seal the keg, and capture CO2 produced by yeast. Use a spunding valve to limit pressure. Produces nuanced, natural carbonation but requires close monitoring and understanding of fermentable sugars in the keg.
- Force-carbonation with food-grade CO2: Cold-crash the kombucha, purge keg headspace with CO2, and carbonate to a set target. Faster and predictable; ideal when residual sugar is low or you don’t want ongoing fermentation in the keg.
Updated equipment checklist (2026 home-friendly)
- 5-gallon stainless Cornelius (ball-lock) keg, or home Sanke with adapter
- Cleaner (oxygen-based like PBW or equivalent) and no-rinse acid sanitizer (Star San or approved alternatives)
- CO2 tank with regulator and food-grade CO2 for dispensing/force-carbonation
- Spunding valve (adjustable; consider Bluetooth-enabled models for remote monitoring)
- Inline particulate filter (10–50 μm) for transfers with fruit
- Food-grade tubing, quick disconnects, keg wrench, faucet/beer line kit
- Thermometer and pH meter (digital) — pH measurements are essential; refractometer/hydrometer useful but require correction for acidic matrices
- Optional: keg washer or sprayball, and a temperature-controlled kegerator or dedicated fridge
Baseline 5‑gallon kombucha recipe (revisited)
Same simple baseline; scale as needed.
- 5 gallons (19 L) filtered water
- 60–80 g loose black or green tea (or 16–20 tea bags)
- 1,000 g (5 cups) cane sugar
- 480 ml (2 cups) mature, unpasteurized starter kombucha (raw)
- 1 healthy SCOBY (or stacked SCOBYs totalling ~2–3 inches)
Process summary: make a concentrated infusion with 1 gallon of water, dissolve sugar, steep 10–15 minutes, cool to 20–25°C (68–77°F), combine with remaining water, add starter tea and SCOBY, ferment at 20–25°C until desired acidity and flavor (typically 7–14 days). Verify pH and taste before secondary flavoring or transfer.
Secondary flavoring: when to add and where
Two safe patterns:
- Flavor in fermenter (short secondary): Add juice/purée or aromatics for 1–4 days at room temp, then cold-crash for 24–72 hours before transfer if you plan to force-carbonate.
- Flavor in the keg: Add concentrated purées, cold infusions, or sachets to the keg after transfer for cleaner processing and easier solids management.
Why this matters: fruit sugars will ferment in a sealed keg. If you plan to spund, you can add fermentables but must expect pressure rise and monitor closely. If force-carbonating, cold-crash first and use low-fermentable concentrates.
Sanitation and cleaning — updated best practices
- Clean with an oxygen-based cleaner to remove organic soils; use a sprayball or bottle brush for keg interiors where possible.
- Sanitize immediately before use with an acid no-rinse sanitizer. For kombucha, thorough cleaning prevents acetobacter-driven vinegarization.
- Sanitize transfer hoses, quick disconnects and dip tubes. Disassemble bulkheads and poppets on ball-lock fittings periodically for deep cleaning.
- Use inline filters during transfer if adding fruit to avoid solids in the keg.
Transferring to the keg — step-by-step
- Cold-crash if force-carbonating: chill to 35–45°F (2–7°C) for 24–72 hours to settle yeast and reduce foaming.
- Sanitize the keg and lines. Place keg on a scale or mark a fill level for known volume.
- Purge the keg headspace with CO2 briefly to remove oxygen (a 10–20 psi purge with a quick bleed will displace air) if using force-carbonation.
- Transfer: for smallest oxygen pickup, use a closed counter-pressure transfer or a CO2-purged siphon. For gravity transfers, pour carefully into a CO2-purged keg and minimize headspace.
- Seal the keg and apply your chosen carbonation method (spunding valve attached or CO2 regulator connected).
Carbonation targets, pressure & temperature guidance
Targets are similar to beer: 1.8–3.0 volumes CO2 depending on style. Typical guidance:
- Light mouthfeel: 1.8–2.2 vols
- Everyday kombucha: 2.2–2.6 vols
- Spritzier styles: 2.6–3.0 vols
Approximate pressure examples (use a temperature-carbonation chart to be precise):
- At 38°F (3°C): ~10–12 psi for ~2.5 vols
- At 45°F (7°C): ~12–14 psi for ~2.5 vols
- During room-temp spunding (68–72°F / 20–22°C): target spunding valves to 8–12 psi for moderate carbonation
If force-carbonating: common home method is 20–30 psi for 24–48 hours while cold, then drop to serving pressure (8–12 psi) and taste. Alternative low-pressure infusion: set moderate pressure (10–12 psi) and rock/roll the keg to accelerate absorption.
Spunding: practical, safe method
- After secondary flavoring at room temperature, transfer to a sanitized keg with a spunding valve attached.
- Set the spunding valve to your target (8–12 psi is conservative for 2.2–2.6 vols at ~20°C). If using a smart spunding valve, enable pressure alerts.
- Monitor pressure daily and taste; when desired carbonation is reached, cold-crash the keg and move to serving temperature.
- Always stay within the rated pressure of your keg (check manufacturer psi limits). If pressure approaches unsafe levels, vent the valve and/or chill immediately.
Force-carbonation: when and how
- Cold-crash kombucha 24–72 hours to suppress yeast activity.
- Purge keg with CO2, seal and set regulator to a higher pressure (20–30 psi) for 24–48 hours while cold, or use measured low-pressure techniques with rolling.
- Reduce to serving pressure and taste. If over-carbonated, bleed pressure slowly and chill further before serving.
Serving and storage
- Store kegs cold (35–45°F / 2–7°C) to minimize fermentation and flavor drift.
- Serve at 40–45°F for balanced aroma and carbonation; adjust faucet restrictors or flow to control head.
- For longer-term stability, keep spunded kegs refrigerated and monitor pressure weekly. Unrefrigerated spunded kegs will continue to ferment and acidify.
Troubleshooting common issues
- Foamy pours: Cold-crash longer, reduce serving pressure, check for warm draft lines, and clean faucet o-rings. Confirm keg and lines are chilled.
- Flat kombucha: Verify headspace pressure and for leaks. For spunded kegs, check valve setting and fermentation activity; for force-carbonated kegs, increase pressure or time.
- Vinegar or off-flavors: Likely acetobacterial overgrowth or extended fermentation. Refrigerate to slow acidification. Sanitize equipment thoroughly before next batch.
- Sudden gushers: Caused by active fermentation or particulates acting as nucleation sites. Release pressure slowly, chill, and consider inline filtration or solids removal next time.
Common mistakes to avoid
- Under-sanitizing kegs or transfer lines — kombucha is acidic but not a substitute for good sanitation.
- Adding high-sugar fresh fruit directly into a sealed keg without a plan for spunding or pressure management.
- Ignoring pressure limits — don’t assume kegs are safe at arbitrary high psi. Check manufacturer ratings and spunding valve specs.
- Relying solely on refractometer readings for sugar/ABV during kombucha fermentation; acidity skews those readings unless corrected.
Pro tips
- Use an inline 20–50 μm filter when transferring flavored kombucha to protect lines and faucets from particulates.
- Log pH and temperature each day during active fermentation and for the first 72 hours after spunding to detect runaway fermentation early.
- If you plan to serve kombucha publicly, budget for ABV testing at a certified lab; portable ethyl alcohol test kits are improving but labs are still the standard for regulatory purposes.
- Consider partnering with a local brewery or homebrew shop for keg fills and CO2 cylinder exchanges — it’s often cheaper and more sustainable than single-use bottles.
2026 cost snapshot (home enthusiast)
- Used/refurbished 5-gallon Corny keg: ~$60–$200
- Basic CO2 kit (tank + regulator + lines): ~$180–$400
- Spunding valve: $30–$120 (smart, Bluetooth models at higher end)
- Mini-kegerator: $300–$900 depending on size and features
Two keg recipes to try (5-gallon)
Ginger-Lemon Bright (clean, zesty)
- Add 1–1.25 cups fresh ginger purée per 5-gallon keg (blend and strain). Add zest and 1–1.5 cups freshly squeezed lemon juice at kegging if you plan to spund conservatively.
- Spund at 8–10 psi for 24–48 hours at room temp, then cold-crash and serve ~40–45°F.
Hibiscus-Raspberry (floral, tart)
- Make a hibiscus concentrate by steeping 110 g dried hibiscus in 2 cups boiling water, cool and strain. Add 1–2 cups strained raspberry purée to the keg.
- Cold-crash then force-carbonate (recommended) to limit extended fruit fermentation; or spund conservatively with tight pressure monitoring if you prefer natural conditioning.
Final notes
Kegging kombucha in 2026 combines craft fermentation with modern draft tools. Start conservatively: sanitize immaculately, cold-crash before transfer if unsure about residual activity, and monitor pressure and pH during any natural conditioning. Smart spunding valves and inline filtration make hobby kegging easier and safer than ever — but the fundamentals still matter: temperature control, sanitation, and respect for pressure. With a few careful batches you’ll dial in a draft kombucha routine that fits your palate and household.
FAQ
Is it safe to spund kombucha in a home keg?
Yes, provided you understand the sugars present and monitor pressure. Use a spunding valve rated for your keg, set a conservative pressure limit (8–12 psi for many styles), check pH regularly, and chill the keg once desired carbonation is reached. Always stay within the manufacturer’s pressure rating and vent slowly if pressure climbs unexpectedly.
How do I measure alcohol content (ABV) in kombucha at home?
Measuring ABV accurately in kombucha is tricky because acidity distorts refractometer and hydrometer readings. For hobby purposes, measure original and final gravity with a hydrometer and use online kombucha-specific correction tools — but for regulatory or commercial certainty, send samples to a certified lab for ethanol testing.
Can I use soda chargers (N2O or small CO2 cartridges) instead of a CO2 tank?
Small CO2 cartridges are sometimes used for single-keg dispensing but are less practical and cost-effective for routine kegging. N2O is not appropriate — use food-grade CO2. For frequent use, a refillable CO2 cylinder with regulator is safer, more economical and gives finer control.
My kombucha keeps turning vinegary — what am I doing wrong?
Vinegar flavor derives from acetobacter activity and extended oxidation or prolonged fermentation. Prevent it by sanitizing equipment, minimizing oxygen exposure during transfer, cold-crashing to slow fermentation, and refrigerating kegs promptly. If vinegar flavors persist, review ambient fermentation temperatures and starter culture health.
How long will kegged kombucha stay good?
Properly chilled (35–45°F / 2–7°C) and sealed, a kegged kombucha can maintain stable flavor for several weeks to a few months. Over time, residual yeast and bacteria can alter acidity and carbonation; monitor pH and pressure, and consume within the timeframe that matches your flavor preference.