
Introduction — What you'll learn and who this is for
If you batch-cook on Sundays (or anytime) to save time, you probably already know the upside: dinners that fall into place, fewer takeout nights, and a better grocery budget. What you might not enjoy thinking about is the one downside everyone ignores until it's too late—foodborne illness. This guide walks home cooks and meal planners through exactly how to cool, store, thaw and reheat meal-prep safely so food stays tasty and you stay well.
By the end you'll be able to: pick the right containers, cool hot food fast (without a commercial blast chiller), choose refrigerator vs freezer, label for rotation, and reheat to safe temperatures. Think of it as a “safety checklist” for your weekly meal routine.
Prerequisites / Context — What you should know before you start
- Equipment you'll need: Food thermometer (instant-read), shallow airtight containers or vacuum sealer, ice bath-capable bowls, refrigerator thermometer, marker and labels.
- Important safety targets: Keep refrigerator below 40°F (4°C) and freezer 0°F (-18°C) — USDA guidance; refrigerate perishable food within 2 hours of cooking (1 hour if ambient temps exceed 90°F/32°C).
- Why temperatures matter: Bacterial growth is fastest in the "danger zone" between 40°F and 140°F (4°C–60°C). The FDA Food Code recommends cooling from 135°F to 70°F within 2 hours and to 41°F within a total of 6 hours for commercial settings — for home cooks aim to hit under 70°F within 2 hours and under 41°F within 4 hours when possible.
- Risk examples: Cooked rice and starchy foods can harbor Bacillus cereus if cooled slowly; poultry and ground meats are higher-risk if mishandled. CDC estimates roughly 48 million foodborne illnesses annually in the U.S., many from improper storage or reheating (CDC, industry_reports).
Step 1: Plan your batches with safety in mind
- Choose shelf-stable vs perishable wisely. Hard vegetables (carrots, winter squash) are lower risk and last longer in the fridge; cooked proteins and cooked rice are perishable and need prompt cooling.
- Portion for quick cooling and fast reheating. Divide large roasts, pots of rice, or large casseroles into shallow portions (max 2-inch depth in a container). Smaller volumes cool faster and reheat evenly.
- Decide fridge vs freezer per meal:
- Refrigerate meals you’ll eat within 3–4 days (USDA guidance).
- Freeze anything beyond 3–4 days; most cooked proteins keep quality 2–4 months in the freezer, stews and casseroles 2–6 months.
Step 2: Cook to safe internal temperatures
- Use an instant-read thermometer. Target temps: poultry 165°F (74°C), ground meat 160°F (71°C), whole cuts of beef, pork, lamb 145°F (63°C) with a 3-minute rest. For casseroles and mixed dishes aim for 165°F before cooling.
- Why this matters: Thorough cooking reduces microbial load. Think of it as knocking down a crowd before locking the doors — fewer organisms to worry about during the cooling window.
Step 3: Rapid cool — practical cooling methods for home cooks
Commercial kitchens use blast chillers. At home you can mimic the principles: increase surface area, move heat to a cold medium, and speed up airflow.
- Shallow pans first. Immediately after cooking, split large pots into shallow, uncovered metal or glass pans (≤2-inch depth). Metal transfers heat faster than plastic.
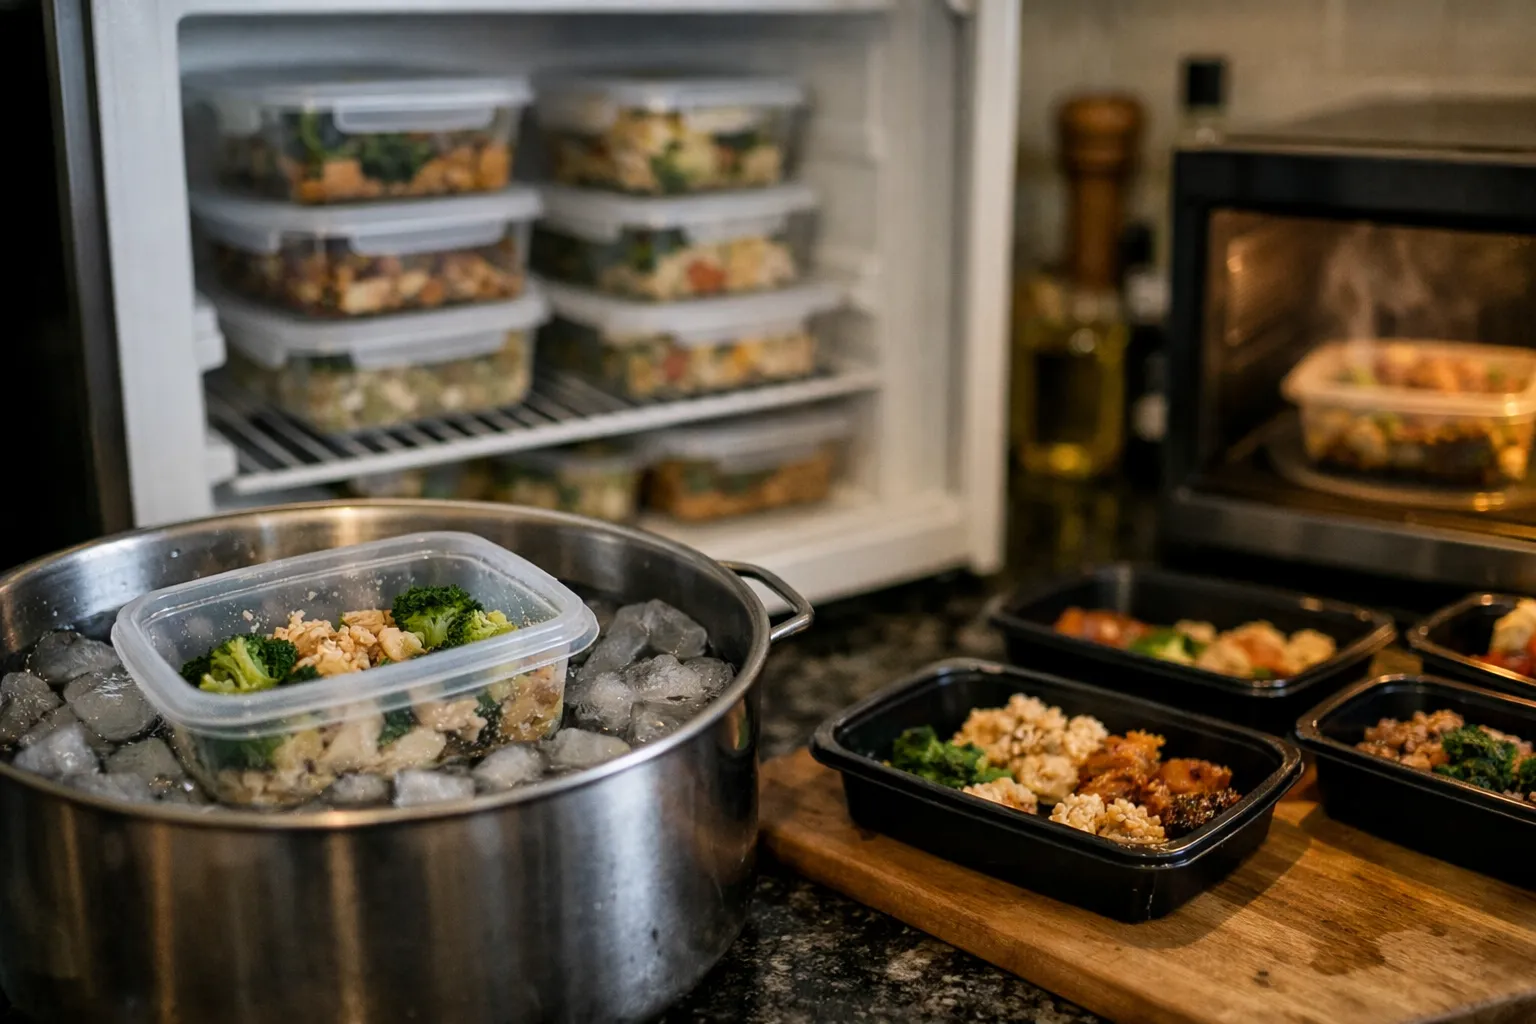
- Ice-bath trick for soups, grains and large batches: Place the shallow pan into a sink or larger bowl filled with ice water. Stir frequently to break up hot pockets (for rice or risotto do this carefully to avoid mush—use short, gentle stirs).
- Use a fan. After the shallow pan is partially cooled (no longer steaming heavily) place it in front of a countertop fan to encourage evaporative cooling, then transfer uncovered into the refrigerator once surface temperature is below ~70°F (use thermometer).
- When to use the fridge immediately: If you cannot cool within 2 hours using the above, prioritize storing in the refrigerator in multiple shallow containers rather than leaving a single large pot on the counter.
Step 4: Package and label for safety and convenience
- Containers: Use BPA-free plastic or glass with tight lids. For freezer storage, use heavy-duty airtight containers or vacuum-seal bags to minimize freezer burn and extend quality life.
- Portion sizes: Pack single-serve or 1–2 meal portions to limit repeated reheats (each reheat is an opportunity to reintroduce risk).
- Labeling: Always mark: name, cook date, and eat-by or freeze-by date. Follow FIFO (first in, first out) in your fridge.
Step 5: Refrigeration and freezing timelines (practical rules)
- Refrigerator (≤40°F / 4°C): Cooked meat, poultry, fish and most cooked dishes: 3–4 days. Salads with mayonnaise or dairy: 2–3 days. Cooked rice and pasta: 3–4 days if cooled and refrigerated promptly.
- Freezer (≤0°F / -18°C): Most cooked meals: best quality 2–4 months. Soups and stews can be good for 2–6 months depending on ingredients. Vacuum-sealed meals maintain quality longer.
- When in doubt, freeze: Freezing halts bacterial growth. If a meal might not be eaten within 3 days, freeze it promptly after cooling.
Step 6: Thawing safely
- Refrigerator thawing (preferred): Transfer frozen meals to the fridge 24–48 hours before eating depending on size.
- Cold water thawing: For vacuum-sealed bags, submerge in cold water and change water every 30 minutes until thawed. Cook immediately after thawing.
- Microwave thawing: Use defrost setting, then cook or reheat immediately to 165°F, as microwaves can leave cold spots where bacteria survive.
Step 7: Reheating — hit the right temperature and method
- Target internal temperature: Reheat leftovers to 165°F (74°C) throughout. Use your instant-read thermometer in the thickest part.
- Reheat once only: Repeated cooling and reheating raises risk and degrades quality — reheat only the portion you plan to eat.
- Methods:
- Stovetop: Gentle, even heat in a saucepan with a splash of broth or water; stir frequently.
- Oven: Cover with foil to prevent drying; 350°F (175°C) until 165°F internal; good for casseroles.
- Microwave: Stir and rotate halfway; let stand 1 minute after heating to even out temperature; check with thermometer.
Example weekly workflow — an actionable plan
Here’s a practical Sunday routine that fits the above rules for a classic meal-prep set: roasted chicken, brown rice, roasted vegetables, and a tomato-chickpea salad.
- Roast two 3–4 lb (1.4–1.8 kg) chickens to 165°F; divide meat off the bone into 8 shallow containers (about 6 oz per portion).
- Cook 6 cups dry brown rice (yields ~12 cups cooked). Spread into two shallow sheet pans; cool using ice-bath method for one pan at a time, stir to break clumps, then transfer to containers.
- Roast vegetables on sheet pans; portion into containers alongside chicken and rice. Cool uncovered briefly, then seal once surface stop steaming.
- Label each container with contents and date; refrigerate portions you’ll eat within 3 days, freeze the rest.
Common mistakes to avoid
- Putting a large pot in the fridge whole. This traps heat and keeps the center in the danger zone too long.
- Relying on smell or appearance. Spoilage bacteria might not be visible or smell bad; follow time and temp rules instead.
- Repeated reheating of the whole batch. Always reheat single portions — each heat/cool cycle multiplies risk.
- Ignoring fridge temperature. Many people don’t know their fridge runs >40°F. Check it with an inexpensive fridge thermometer.
Pro tips — small investments that pay off
- Buy an instant-read digital thermometer ($20). It’s the single best safety gadget for home cooks.
- Use shallow stainless pans for rapid cooling. Metal drops heat faster than plastic or glass in that initial window.
- Invest in vacuum sealer bags for freezer meals. They improve shelf life and prevent freezer burn, especially for fatty foods.
- Adopt the “two-week freezer rotation.” Freeze half your week's meals and eat the fresher half from the fridge within 3 days; rotate frozen meals into the fridge every two weeks to avoid long-forgotten containers.
- Keep a “reheat kit” in the fridge. Small bottles of olive oil, a splash of broth, lemon juice, and quick herbs can revive meals safely without overcooking during reheating.
Why this matters — the practical payoff
Safe meal-prep isn’t just about avoiding an upset stomach; it’s about maximizing the value of the time you invest. Follow the cooling, storage, and reheating steps above and you’ll halve the food waste from questionable leftovers, cut your grocery bill, and keep your weekly dinner routine reliable — and your family healthy.
FAQ
How long can I keep cooked chicken in the fridge?
Cooked chicken is safe in the refrigerator for 3–4 days when kept ≤40°F (4°C). If you won’t eat it within that window, freeze portions promptly. (USDA, industry_reports)
Is it safe to reheat rice?
Yes — but rice must be cooled quickly and stored properly because Bacillus cereus spores can survive cooking. Cool rice in shallow containers, refrigerate within 2 hours, and reheat to 165°F. Discard rice that has been sitting at room temperature for more than 2 hours.
Can I refreeze thawed meals?
If food was thawed in the refrigerator and has not been above 40°F for more than 2 hours, you can refreeze it, though quality may decline. If you thawed using cold water or microwave, cook immediately and then freeze leftovers after cooking.
How do I know if my fridge is cold enough?
Place an appliance thermometer in the middle shelf; the reading should be 40°F (4°C) or below. If it’s warmer, lower the thermostat and check seals, or consider moving cooked meals to a colder fridge temporarily after cooling.
What’s the safest way to reheat soup?
Bring soup to a full rolling boil on the stovetop or heat until it reaches 165°F throughout. Stir often to eliminate cold pockets; for microwave reheating, use shorter bursts and stir between intervals, checking with a thermometer.
Sources: U.S. Department of Agriculture (USDA), Centers for Disease Control and Prevention (CDC), FDA Food Code, and food safety industry_reports and research_studies on cooling and Bacillus cereus risks.