
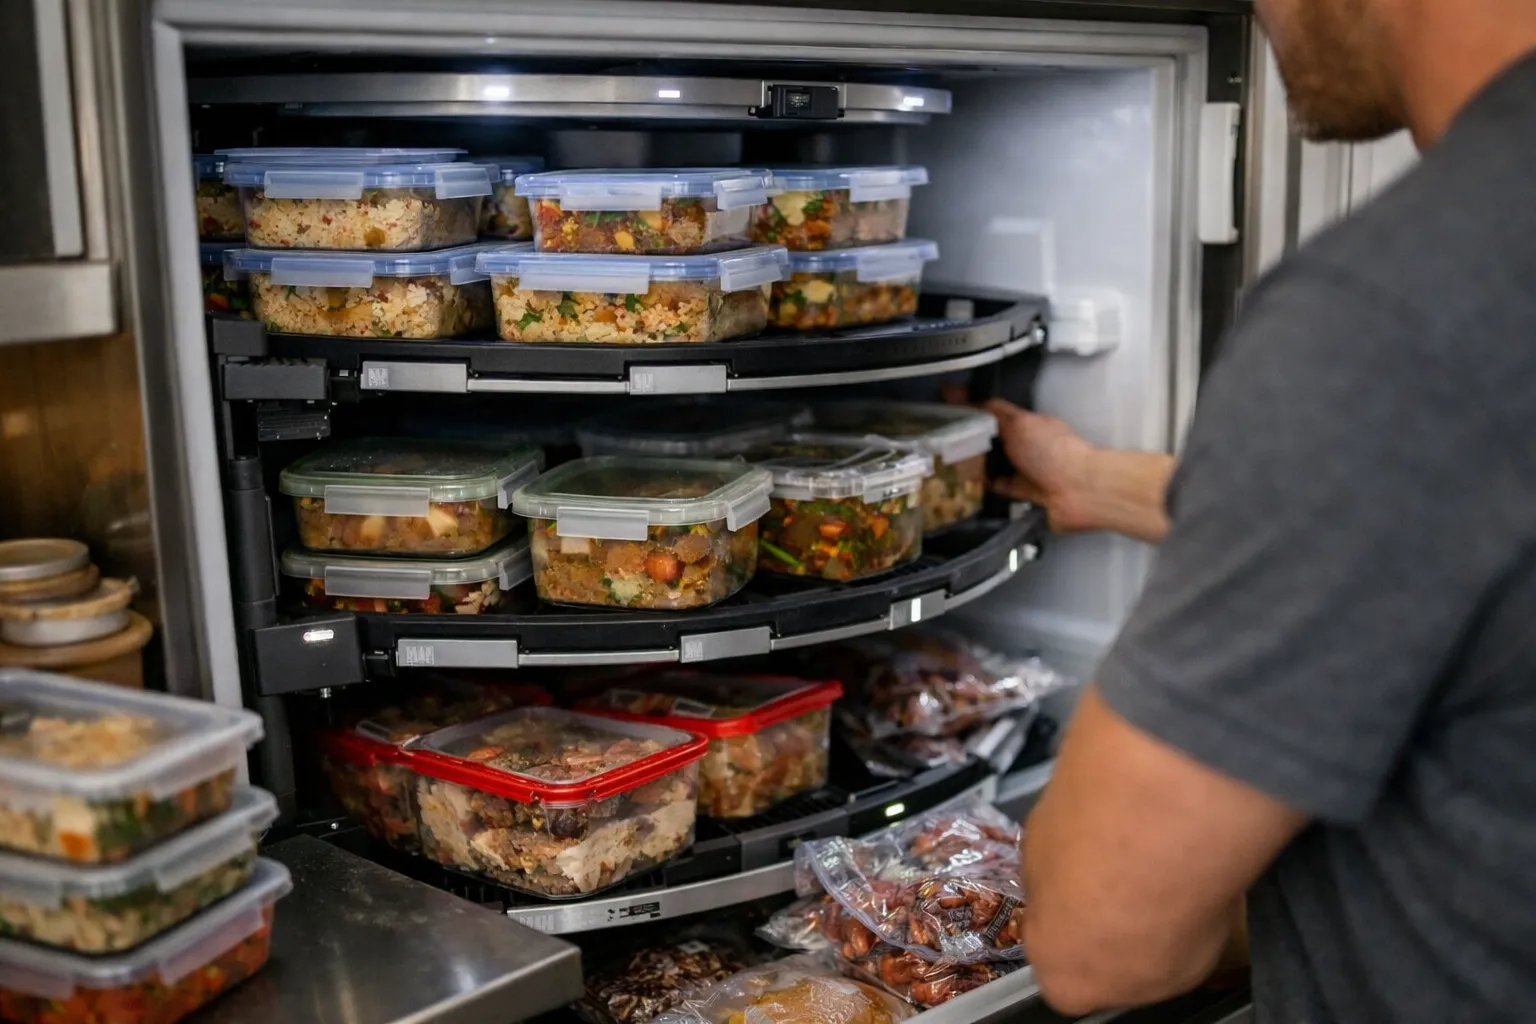
For home cooks and meal planners who batch-cook, a chaotic freezer is the single biggest leak of time, money and food quality. This guide shows a practical, repeatable freezer rotation system—what to do, why each step matters, and how to measure the savings. If you cook for a family, manage multiple diets, or aim to reduce grocery spend as part of a longer household wealth plan, this is for you.
Prerequisites & Context
Before implementing a freezer rotation system, make sure you have:
- A freezer (upright or chest) with at least 5 cu ft usable space for an individual/couple or 10+ cu ft for families
- Freezer-safe containers or high-quality vacuum bags (consider FoodSaver or reusable silicone bags)
- Blank adhesive labels and a permanent marker or a thermal label printer
- A simple inventory tool — a smartphone note, spreadsheet, or dedicated app (many meal-planning apps include a freezer list)
Why this matters: Food loss in U.S. households is large—EPA estimates 30–40% of the food supply is lost or wasted (EPA, research_studies). That’s not just waste; it’s avoidable household expense. A disciplined freezer rotation system reduces spoilage, shortens decision time during busy weeks, and turns cooking time into an asset instead of an ad-hoc scramble.
Overview: The Four-Part Freezer Rotation System
The system has four interlocking parts. Each is simple but must be used consistently to work:
- Standardized packaging and portioning
- Clear dating and labeling conventions
- Logical physical organization (zones & FIFO)
- Weekly inventory & rotation check
Step 1 — Standardize Packaging & Portion Sizes
How:
- Decide standard portion sizes for your household (e.g., single meal: 16 oz protein + 8 oz veg + 1 cup grain). Use measuring cups or a kitchen scale while packing for consistency.
- Choose container types by use-case: rigid BPA-free plastic for single-serve meals, quart vacuum bags for soups, half-sheet pans for lasagnas and casseroles. Label container type on your inventory template.
- Freeze flat when possible (e.g., soups in bags) to maximize space and speed thawing.
Why this matters: Standard portions make reheating predictable and reduce leftover odds. Consistent packaging simplifies stacking and improves shelf-life estimates.
Step 2 — Clear Dating & Labeling Convention
How:
- Use a short, consistent label: YYYY-MM-DD | Meal Code | Servings. Example: 2026-06-01 | CHK-TOMATO-STEW | 3.
- Include reheating notes and allergen flags on the label (e.g., “Glass: reheat 375°F, 25 min” or “Contains: dairy”).
- Color-code by category: blue for proteins, green for veg sides, red for ready meals. Use small colored dots if that helps at a glance.
Why this matters: Full dates prevent “best-guess” decisions that lead to food waste. A label with reheating instructions reduces decision friction on busy days and protects food safety.
Step 3 — Physical Organization & FIFO (First-In, First-Out)
How to set zones:
- Top/front zone: Immediate-use meals (use within 1–4 weeks)
- Middle zone: Short-term storage (1–3 months)
- Back/bottom zone: Long-term items (3–6 months or more depending on food)
Implement FIFO by placing newly frozen items toward the back of a zone and moving short-dated items forward. For chest freezers, use labeled bins (stackable plastic bins) so you can pull a full bin from the center and rotate easily.
Why this matters: Temperature fluctuations and freezer burn increase with time and repeated thaw/refreeze. FIFO keeps quality consistent and ensures you eat older items first.
Step 4 — Weekly Inventory & Rotation Check
How:
- Set a weekly 10-minute slot (e.g., Sunday evening) to check your inventory list against what’s actually in the freezer.
- Mark items expiring or at the “use soon” threshold (set thresholds per food: cooked grains 2–3 months, stews 3–4 months, casseroles 3–4 months, fruits 8–12 months).
- Plan 1–2 “use it up” meals in the coming week based on the items flagged.
Why this matters: The weekly check converts your freezer from a black box into an actively managed resource. Small consistent actions eliminate bulk waste and keep meal plans realistic.
Practical Examples & Savings Math
Example 1 — Small family (2 adults, 1 child): If disciplined freezer rotation reduces spoilage by only one large casserole per month valued at $15–$20, that’s $180–$240/year saved. Extend that to avoided impulse purchases and ingredient doubles and a conservative estimate is $600–$1,200/year.
Example 2 — Time value: If batch-cooking and efficient rotation save you 30 minutes per weekday (2.5 hours/week), that’s 130 hours/year. If you value your time at $20/hour for household budgeting, that’s $2,600/year reclaimed—either for paid work, family time, or leisure.
Wealth perspective: Investing $1,000/year saved from better meal planning at a 6% return yields approximately $13,200 in 10 years (compound growth), turning a kitchen habit into a measurable financial contribution to household wealth.
Common Mistakes to Avoid
- Vague labels: “Chicken” is not enough. Include date, portion count, and reheating advice.
- Mixed long- and short-term storage: Putting newly frozen items behind older ones defeats FIFO. Keep a clear zone boundary.
- Over-packing without an inventory: You can’t rotate what you don’t know you have. A quick spreadsheet or app prevents duplicates and overbuying.
- Ignoring temperature and food safety: Freezers should be 0°F (-18°C) or lower. Thaw using refrigerator or cold-water methods; avoid room-temperature thawing for perishable foods.
Pro Tips for Advanced Meal Preppers
- Batch with intention: Cook items that share components (e.g., roast several trays of root veg and use across soups, bowls, and sides) to multiply utility.
- Micro-cycle rotation: Keep a “7-day eat list” on the freezer door for items that must be used within a week.
- Use clear bags and vacuum sealing selectively: For meats and soups that will sit months, vacuum sealing extends quality; for quick-turn items, reusable silicone bags are faster and more sustainable.
- Track cost-per-portion: Sheet that logs ingredient spend for each batch helps spot where you can switch to cheaper cuts or bulk buys without sacrificing calories or nutrition.
- Account for energy cost: A fuller freezer is more efficient per volume; rotating in bulk lowers per-meal energy cost of freezing.
Implementation Checklist (First Month)
- Buy labels, markers, and a few stacking bins.
- Run a single “pack day” to standardize portion sizes—label everything with date and reheating notes.
- Create a simple inventory spreadsheet with columns: Item, Date Frozen, Servings, Zone, Use-By Threshold.
- Schedule weekly 10-minute inventory checks and a monthly deep clean where you inspect for freezer burn and reorganize bins.
Why This Is a Long-Term Financial Move
Meal prep systems often get pitched as time-saving hacks; they are also household infrastructure. The recurring savings—reduced grocery waste, fewer impulse purchases, and better use of bulk buys—translate into a steady contribution to a family’s budget. Over years, disciplined food management compounds similar to other household optimizations. Treat your freezer like a utility asset: invest a small amount of time weekly to protect quality, and view the recurring savings as part of a multi-year household financial plan.
Sources & Further Reading
- EPA — United States Food Loss and Waste Estimates (research_studies)
- USDA — Food Plans: Cost of Food at Home (industry_reports)
- Time-use studies and consumer behavior analyses (expert_analysis)
FAQ
How long can I store cooked meals in the freezer safely?
For quality and safety, follow general guidelines: cooked grains and pasta: 1–2 months; soups and stews: 2–4 months; casseroles and lasagnas: 3–4 months; fruits: 8–12 months. Rather than strict expiration, use the label date and organoleptic checks (smell, frost) and prioritize older items via FIFO.
Do vacuum-sealed meals really last longer?
Yes—vacuum sealing reduces air exposure and lowers risk of freezer burn, extending shelf life for many foods by several weeks to months. For items you plan to keep longer than three months, vacuum sealing is cost-effective.
How do I avoid freezer burn when batch-cooking?
Minimize air contact: use vacuum seals or squeeze out air from bags, keep packaging tight, and avoid temperature fluctuations by not over-stocking the freezer door. Quick-freeze flat bags to speed freezing and reduce ice crystals.
What if I don’t have enough freezer space?
Prioritize items that preserve best and give most utility (stews, proteins, prepped veg). Use shared community freezers or rotate weekly—buy in smaller, more frequent batches. You can also invest in a 5–7 cu ft upright or chest freezer if you plan to scale batch-cooking; the payback often comes in reduced grocery spend and time savings within 6–18 months.
How should I thaw meals safely?
Best: thaw overnight in the refrigerator. Second-best: cold-water bath in sealed packaging, changing water every 30 minutes until thawed. Avoid room-temperature thawing for perishable items. Reheat to recommended internal temperatures (e.g., 165°F/74°C for most cooked dishes).
Consistent freezer rotation is less about perfect rules and more about predictable habits. Start small—standardize one meal type and build the label/inventory habit. Over months, the system will cut waste, smooth weekly decision-making, and contribute meaningfully to household finances.